
Did you ever use the first camera on a mobile phone? What about their grainy, blurry, low-quality photos? The modern phone camera is capable of some impressive feats. You can take it with you wherever you go, unlike your bulky DSLR when you go on vacation. Learn how to take incredible shots with your smartphone to make your Instagram profile stand out. We're sharing Instagram photo ideas and how to take good photos with only your phone.
What you need to know to take a good Instagram photo on your mobile phone
You will need to understand some basic principles of composition and lighting, and you will need to exercise your instinct as a photographer. Several simple rules must be followed.
Step 1: Make sure there's ample natural light
For any photo to be successful, the light must be right. When taking photographs with your phone, it is very important to understand how to use light in order to get great results.
Utilize natural light instead of your flash for photographs that are more vivid and bright.
Your photograph can be flattened out if you use a flash. In the event that you cannot take photographs outside, we recommend taking them near a window or in a room that is well lit. The best source of ambient light is street lamps and store windows, even at night.
Step 2: Your pictures should not be overexposed
Using editing tools, you can brighten up a dark photo, but there's nothing you can do to fix an overexposed one.
The exposure can be adjusted by tapping and sliding your finger up or down on your screen, to prevent overexposure.
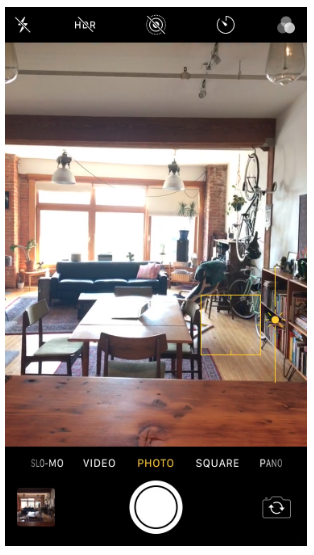
One last method to prevent overexposure is to adjust the illumination before taking the picture by tapping your finger on the brightest part of the frame (in the example above, the windows).
Step 3: Catch the right moment
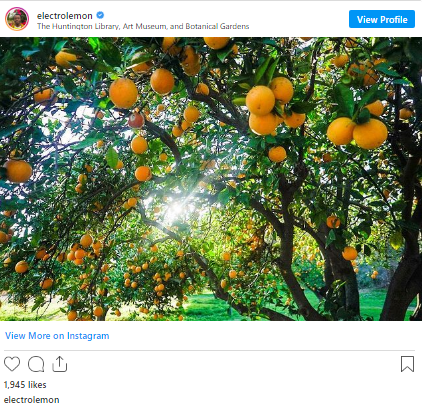
Golden hour is loved by photographers for good reason. Each photo is more beautiful at this time of day, when the sun is low on the horizon. Nature's version of Instagram.

A cloud is your friend if you're shooting in the midday sun. In photos, direct sunlight can be harsh, making it hard to get a good shot.
Light is diffused by clouds, creating a flattering, softer look.
Step 4: Keep the rule of thirds in mind
Photographs are composed of shapes, colors, textures, and other elements that contribute to their overall appearance.
There is a simple method of balancing your image using the rule of thirds, one of the most widely known composition principles. It creates balance by dividing an image into a grid of 3x3, aligning subjects and objects on the grid lines.
If you want to center your picture, you can do the following:

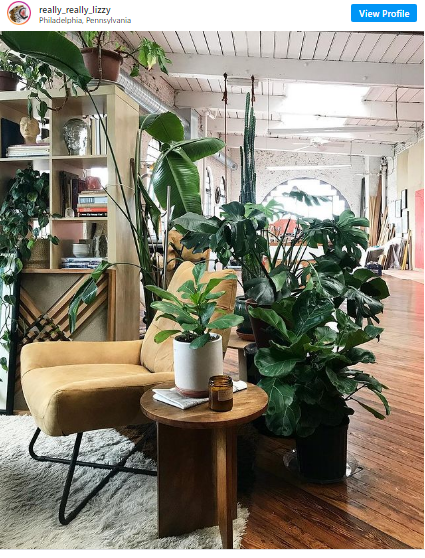
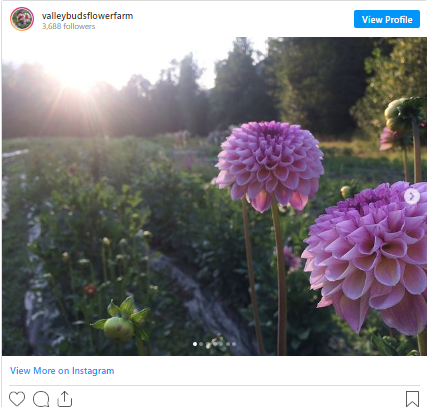
However, balance can also be achieved by rotationally shifting an object off center and on top of it, but with another object in the foreground. An example of this is the arrangement of flowers in the lower-right corner of the photo, balanced by a bright sun in the top-left corner.
Professional tip: Make sure your phone camera has grid lines enabled in settings. The gridlines will allow you to align your pictures more easily.

Step 5: Consider your perspective
Most people hold their phones around eye level and click away when taking a photo, right? All the others do the same thing. Taking interesting photos requires you to resist this natural tendency. Even when it comes to a familiar topic or place, taking photos from a different perspective will offer new perspectives. Make sure you are shooting high or low, or crouching low to the ground (if you feel ambitious). You don't need to break your leg to get the perfect shot, but challenge yourself to look at things in a different way.
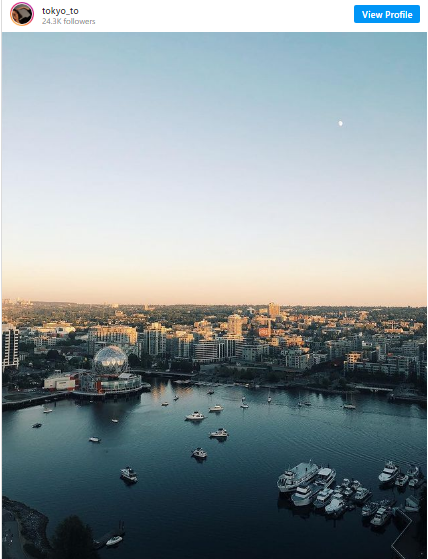
Step 6: Define your subject
You can add more visual interest to your photos by leaving space around the focal point. There are some unexpected details in photos, like the moon high in the sky of this shot:
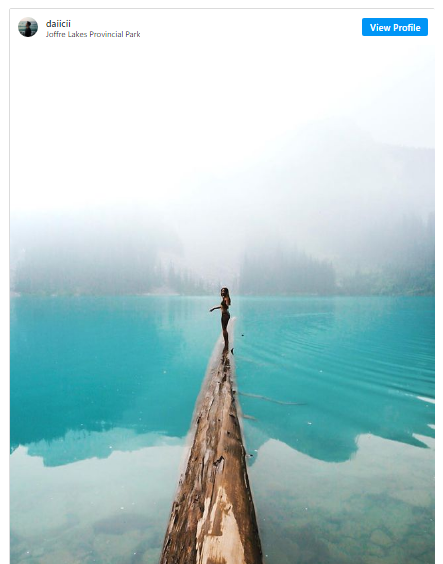
Step 7: Catch the eye of the viewer
Usually, leading lines in photography draw the eye and add depth to your image. It could be a roadway, a building or a natural element like a tree or wave.
Look for leading lines in your photos and use them to create motion, meaning, or purpose.
The following shot shows how leading lines can help direct your viewer's attention to your subject:
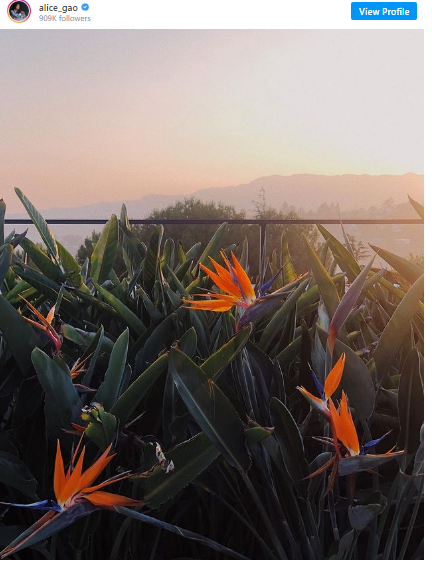
Step 8: Increase depth
Whether a handsome slice of pizza or a handsome person is the focus of your photo, it's easy to get caught up in it. However, photos with layers, including both a foreground and a background, are naturally more interesting since they offer a greater sense of depth.
By including the railing behind them, the trees beyond that, and the sunset and horizon, the photo is more interesting than just cropping tightly on the flowers. You are drawn into the photo by looking at each layer of the picture.
So these were some really handy tips if you want to be a perfect picture poster on Instagram. Check out some other pretty amazing blogs on our website too.